Resetting My Winter Drums for the Next Crop
Getting the drums ready
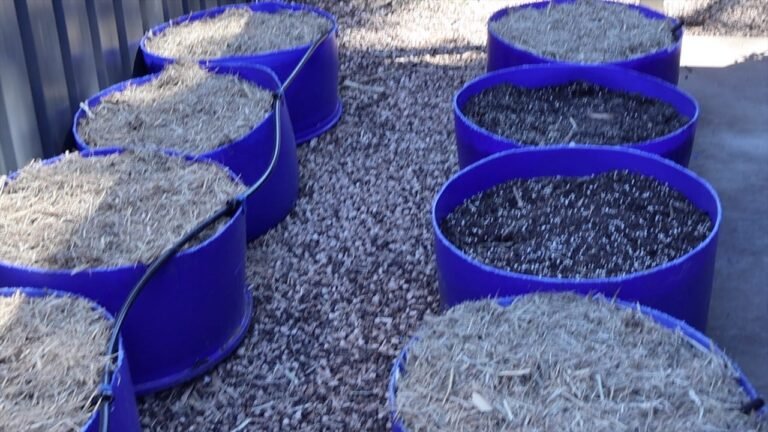
Today was about getting my winter drums ready.
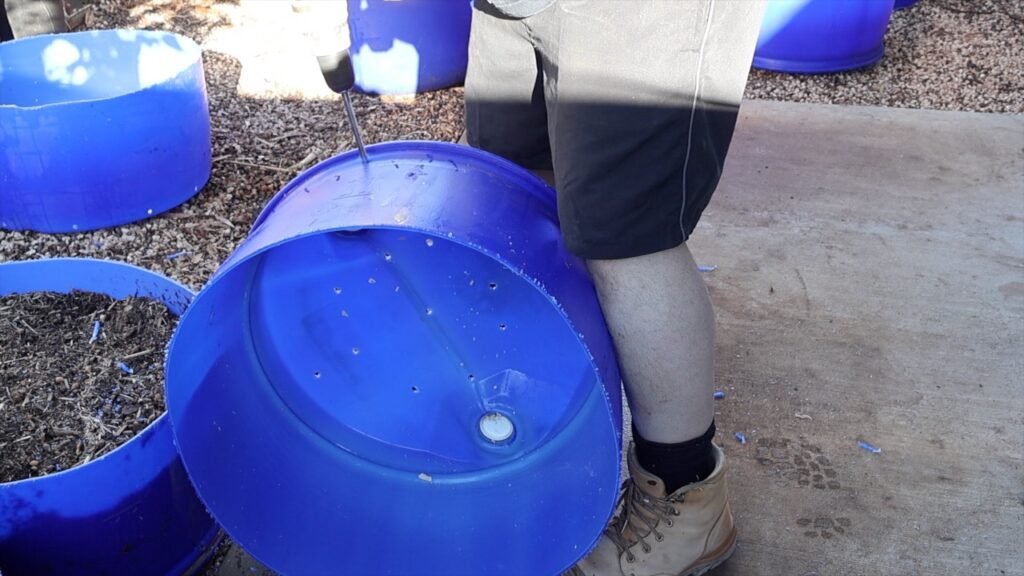
This time I cut them into thirds instead of halves. These ones are for vegetables, not trees, so they don’t need the same soil volume. Cutting them smaller should still give me enough room for the crops I want to grow, while using less soil and making the whole setup easier to handle.
That felt like the better fit for this build.
Similar to the orchard build, but not the same
If you’ve seen the orchard drum setup, parts of this process will look familiar.
There was still the usual work of cutting the drums down and drilling drainage holes, so I didn’t need to reinvent that part. The main difference here was the size and the reason for the build. These containers are being set up for winter vegetables, so the priorities are a bit different.
I want them manageable, consistent, and easy to work with once the season gets going.
Keeping the drum sections consistent
One thing I still wanted was for the drum sections to be reasonably even.
That should help them all behave in a similar way later on. If the containers are close in size, they should fill similarly, drain similarly, and make it easier to compare how each one performs once they’re planted.
That kind of consistency matters more than making them look perfect.

Using the drum mould lines as a guide
Rather than measuring and marking everything out carefully, I followed the mould lines already built into the drums.
That made the cutting quicker and simpler. The lines were already there, so it gave me a clear guide without extra setup work. It also kept the finished sections neat enough for what I needed.
It’s a straightforward approach, but it works.
Making sure drainage is sorted
Once the drums were cut, the next step was drilling the drainage holes.
This part matters because if the containers don’t drain properly, the roots sit in wet soil too long and start having problems. That becomes even more important once irrigation is involved.
I want water to move through the container properly, not collect in the bottom.
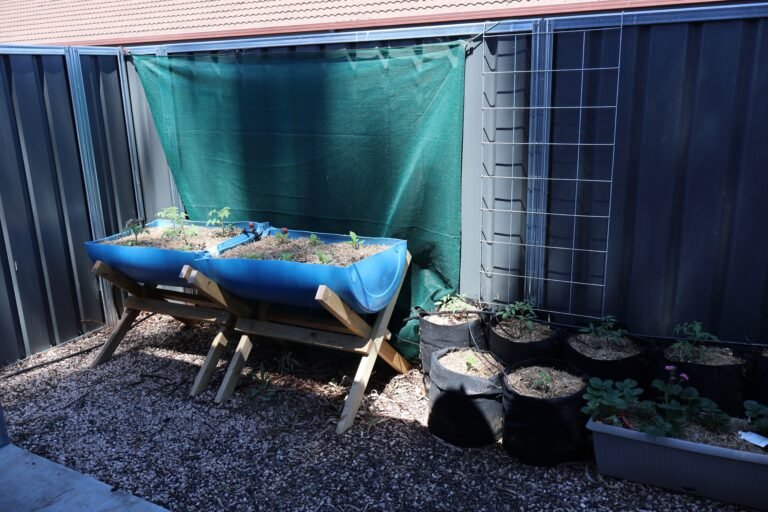
Putting the drums in place before filling
Before I filled them with soil, I put each section where it was actually going to stay.
That saves effort later. Once these containers are full, they’re much harder to move. I wanted them set up with good access, decent light, and a layout that already works with the irrigation rather than having to shift them around once they’re heavy.
That part is easy to overlook, but it makes the rest of the job smoother.
Reusing old container soil
For this setup, I’m reusing soil from old grow bags and containers that I’m not planning to keep in use this season.
There’s still value in that mix, but after a couple of crops it needs work. I’d rather improve it and use it again than throw it out if it can still do the job.
That means this part of the build is really more of a soil reset than just a refill.
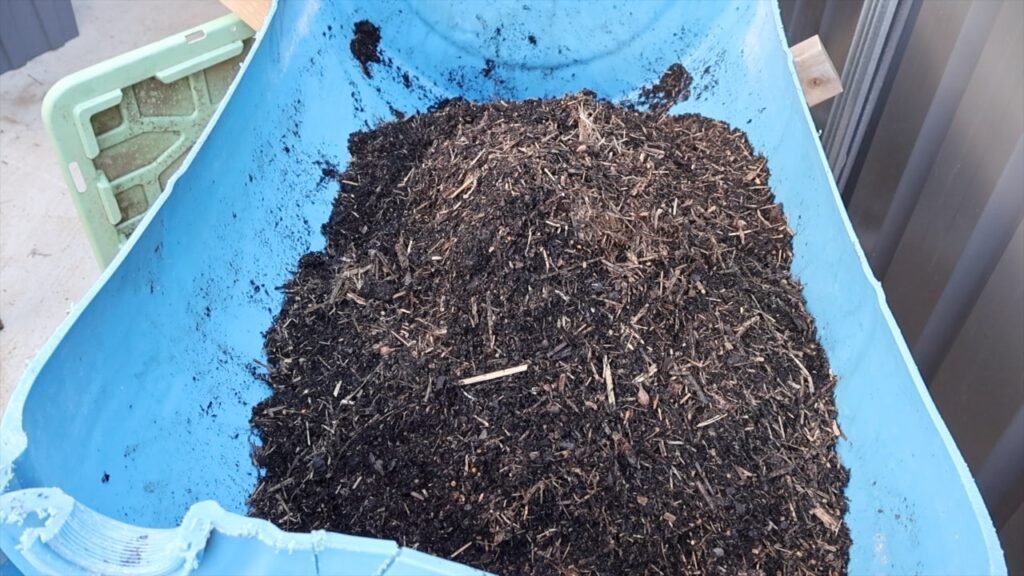
Adding compost back into the mix
One of the main things I’m adding back in is compost.
The way I understand it, compost helps rebuild organic matter, improve structure, support soil life, and put some nutrition back into a mix that has already grown previous crops. It also helps with moisture holding, which matters when these containers will be watered by irrigation rather than by hand every day.
That makes it one of the more useful things to add back into tired container soil.
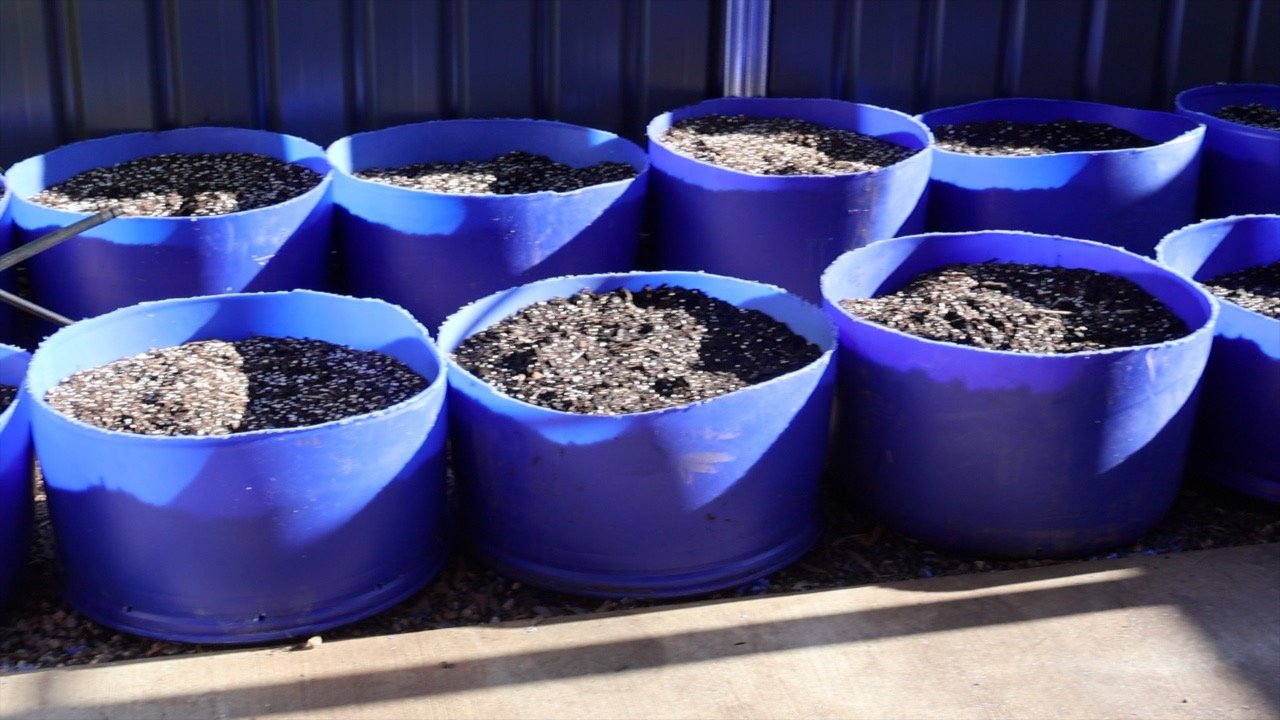
Filling the containers evenly
Once the mix looked right, I started filling the drum sections.
I tried to keep them fairly even so they’d behave similarly later on. That should make watering easier to manage, make growth easier to compare, and help me spot problems earlier if one section starts behaving differently to the others.
It’s a small detail, but it should make the whole setup easier to read once the season starts.
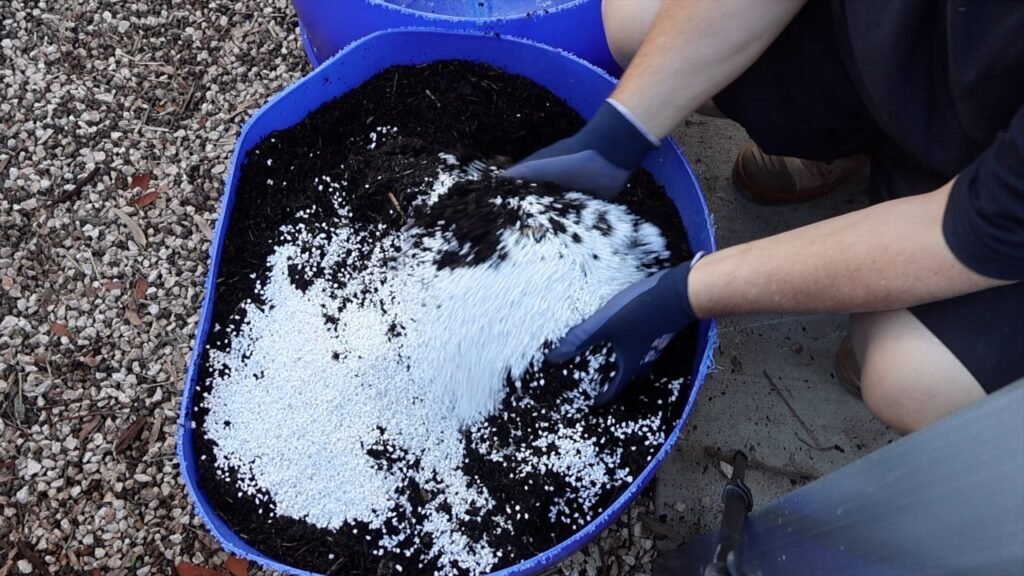
Adding perlite to keep the mix open
I also added perlite.
The main reason for that is to stop the soil from closing up and becoming too dense over time. Perlite helps create air space, improves drainage, and keeps the mix more open so roots can move through it more easily.
For containers, especially ones on irrigation, I want a mix that wets evenly and drains well instead of turning heavy and compact.
In this case, I mostly mixed the perlite through the top half of the drum. That’s where most of the root activity for the broccoli, cauliflower, and peas is likely to be, so that’s where it should make the biggest difference.
The goal isn’t a perfect recipe
I’m not trying to come up with some perfect soil recipe here.
The goal is simpler than that. I’m just trying to take tired container soil and improve it enough that it becomes useful again. If it drains better, holds moisture more reliably, and supports the next crop properly, then it’s doing its job.
That’s enough.
Making the soil work with irrigation
Because these drums will be on irrigation, the mix needs to work with that system.
I want the water to soak through properly, spread through the profile, and then drain without the container staying too wet. A better-structured mix should make that more reliable and reduce the chances of dry pockets or soggy spots.
That’s one of the main reasons I wanted to get this reset right before planting.
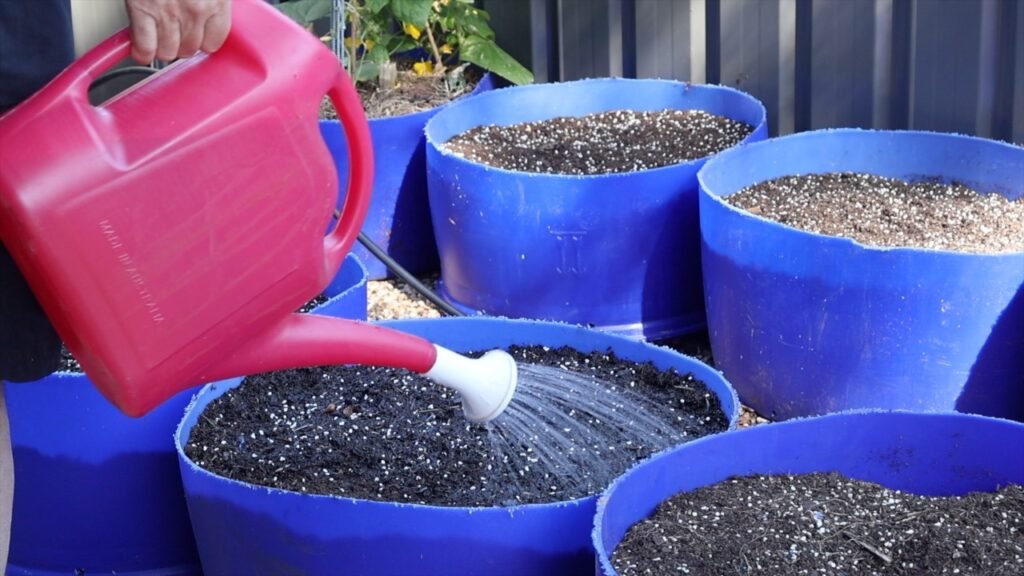
Watering it in and checking the result
Once the drums were filled, I watered everything in.
That helps settle the mix, but it also acts as a test. It shows fairly quickly whether the drainage is working and whether the soil structure is open enough. If something isn’t right, it’s much easier to fix now than once seeds or seedlings are already in.
That’s the point of doing it at this stage.
Ready for the winter crop
For this winter setup, I’m trying to build something practical and repeatable.
I want the containers easy to access, the soil easy to maintain, and the watering simple enough that the whole system keeps working even when life gets busy. That matters more to me than making it look impressive.
So that’s this stage done.
The drums are cut, the soil is reset, and the irrigation side has been taken into account. The next step is planting them out for winter. At this stage, the plan is broccoli, cauliflower, and peas.
Now it’s just a matter of seeing how the setup performs once the season gets underway.