Expanding the Orchard With New Feijoa Planters
Making room for the next trees
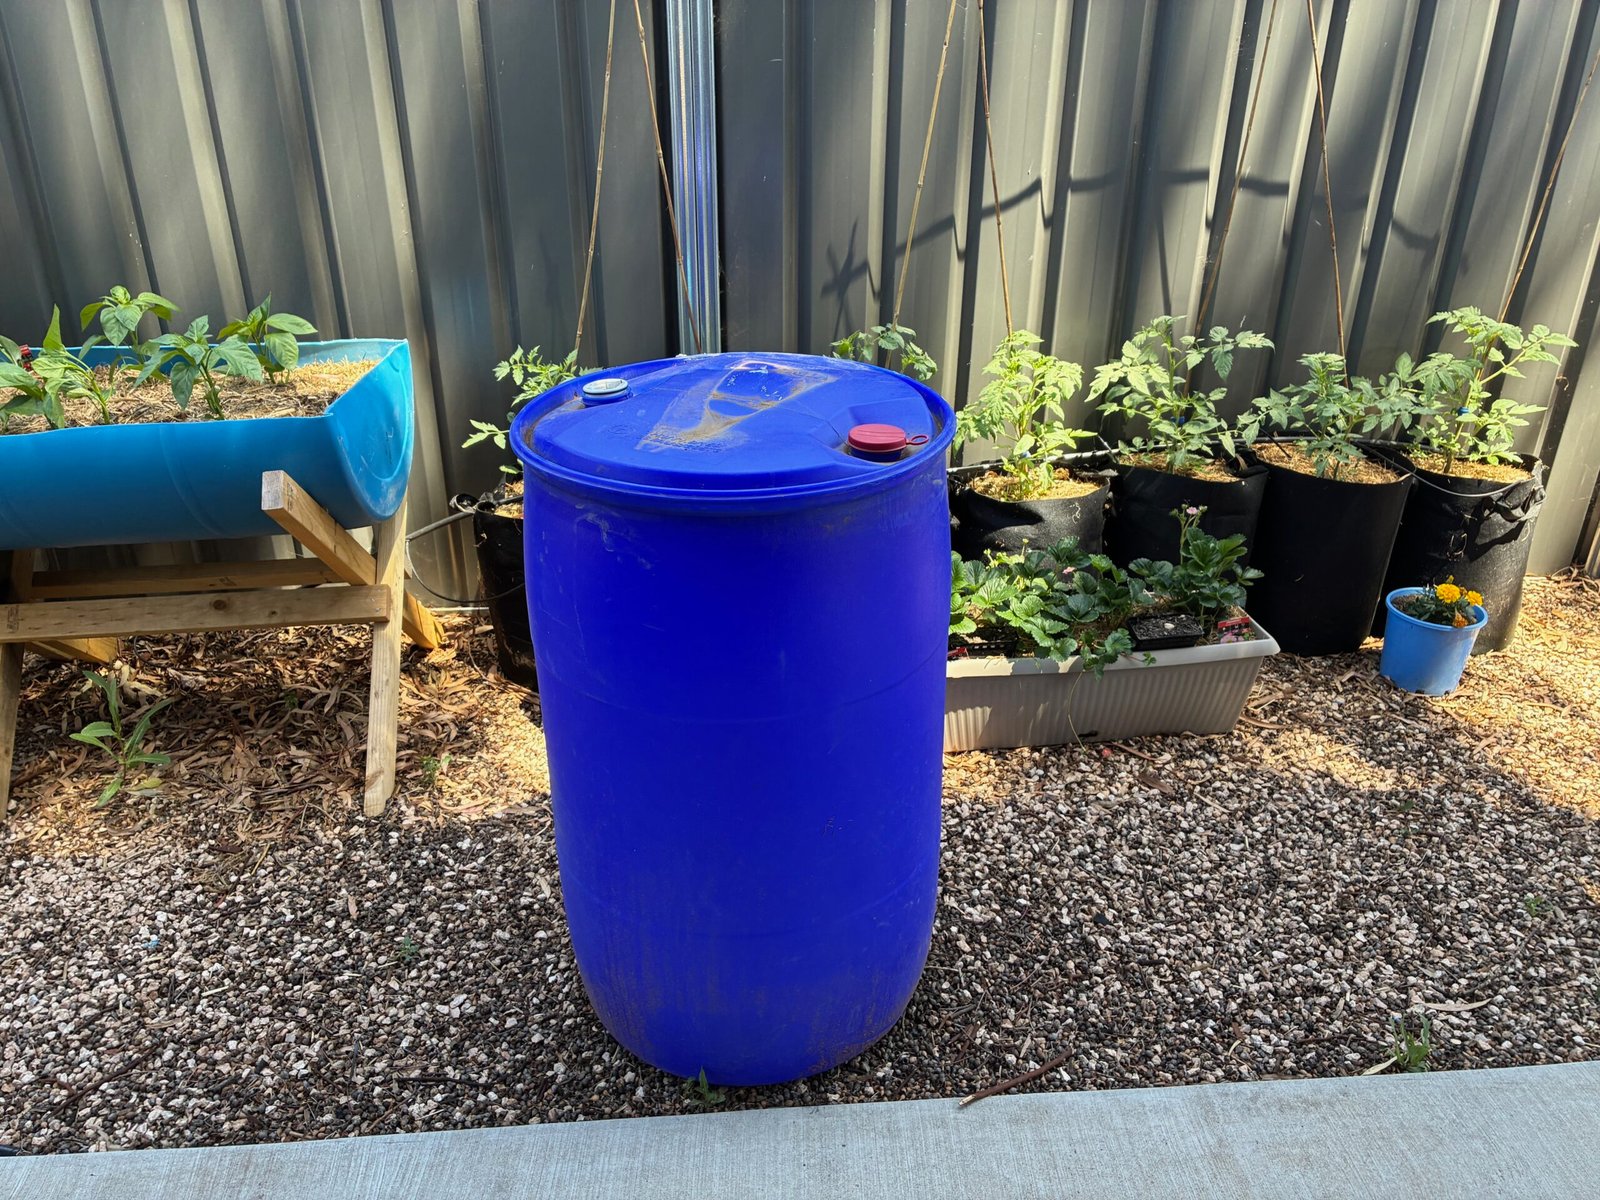
It was time to get the feijoas into planters of their own.
I had two drums to cut down, which would make four pots for the trees. I’d also end up with a spare planter for either my Lemonicious lemon or the Valencia orange later on.
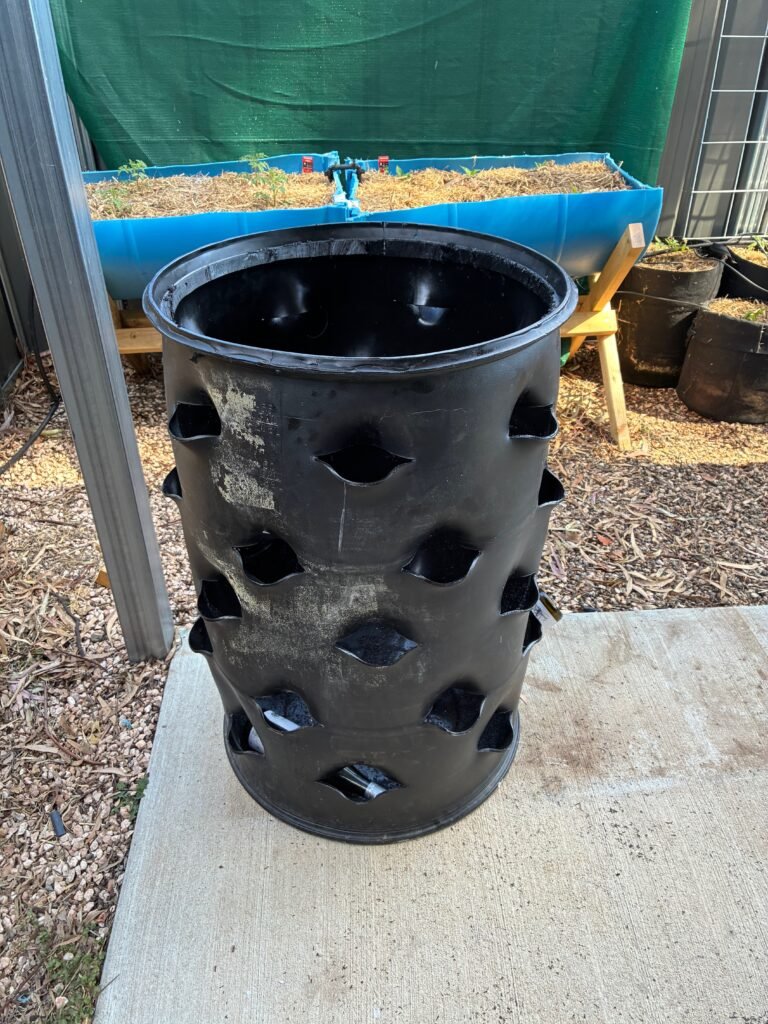
Cutting the drums
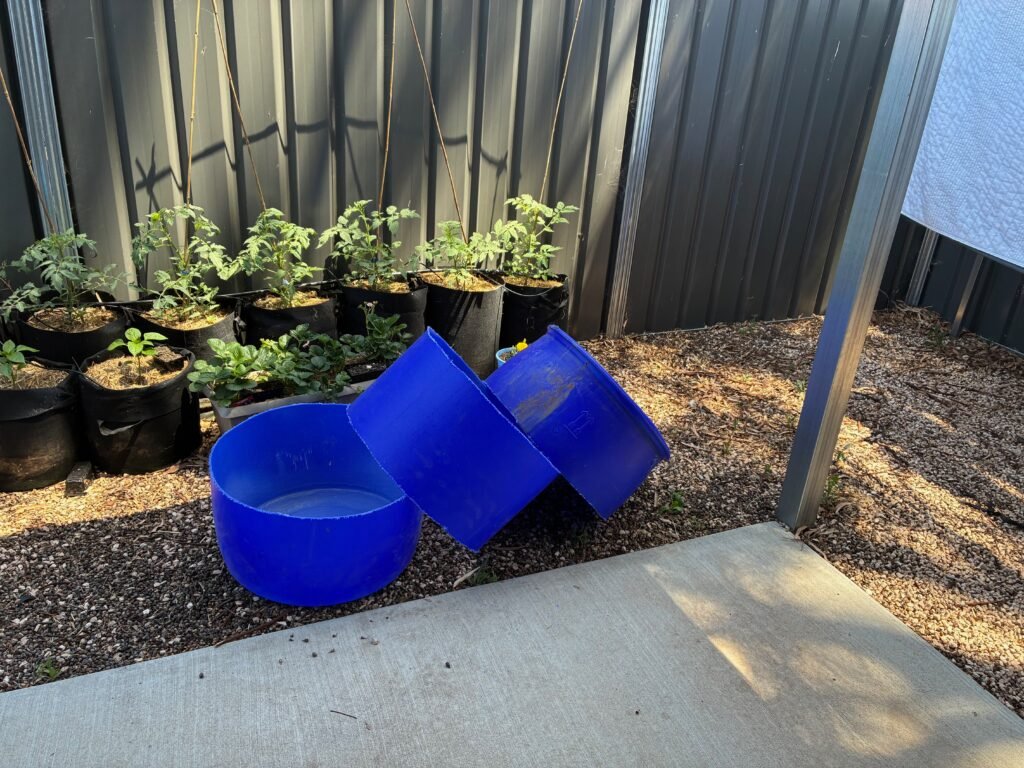
The first job was cutting the drums in half.
For orchard pots, I like giving the trees a bit more depth and room because they’re going to be in these containers for a while. I marked the line with an old stake, drew it around by hand, and then cut along it with a small electric saw.
It wasn’t perfect, but it worked.
I also make sure the drums I use have only held food-grade products. Around here, a lot of them have had apple glaze wax in them, which makes them a good option for growing food.
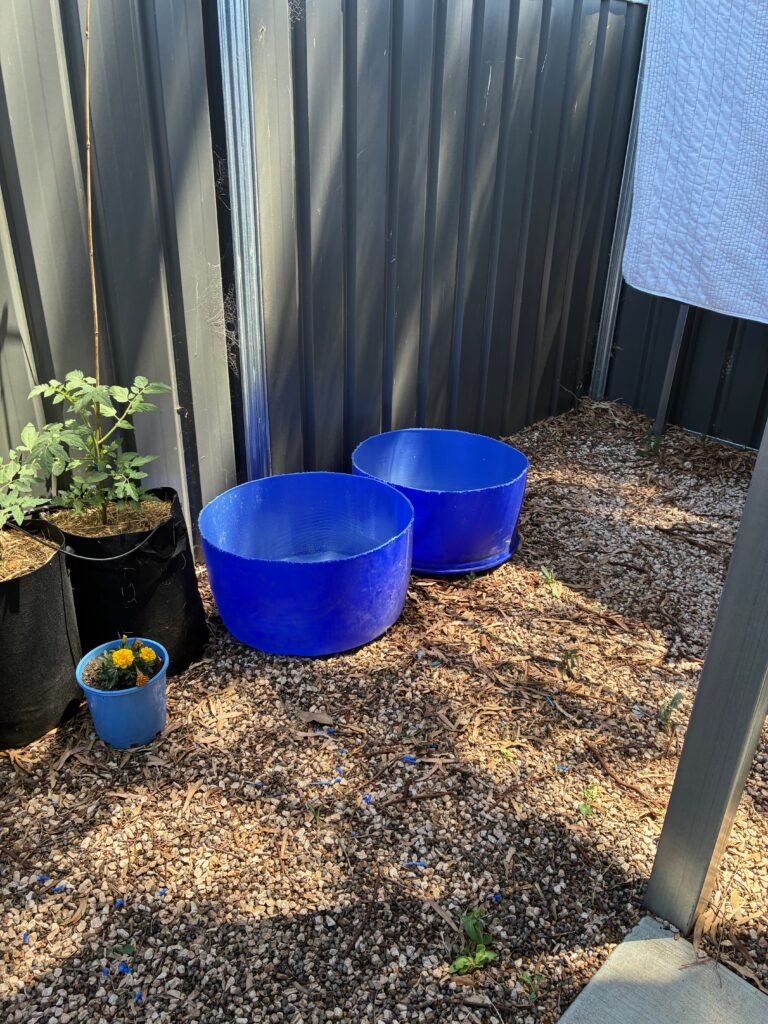
Getting drainage right
Once the drums were cut, I drilled holes in the bottom for drainage.
I also added a few around the lower sides so that if the bottom holes get blocked by wet soil, water can still escape through the sides.
Because the drum shape isn’t flat all over, I made sure the holes went in the lowest points so water wouldn’t pool in the wrong spot.
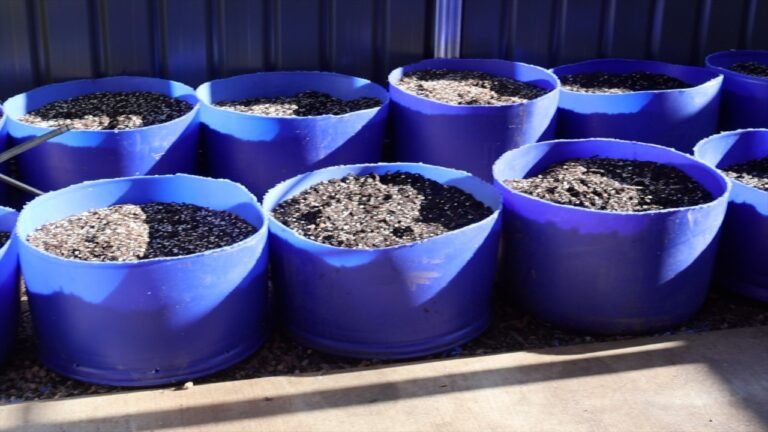
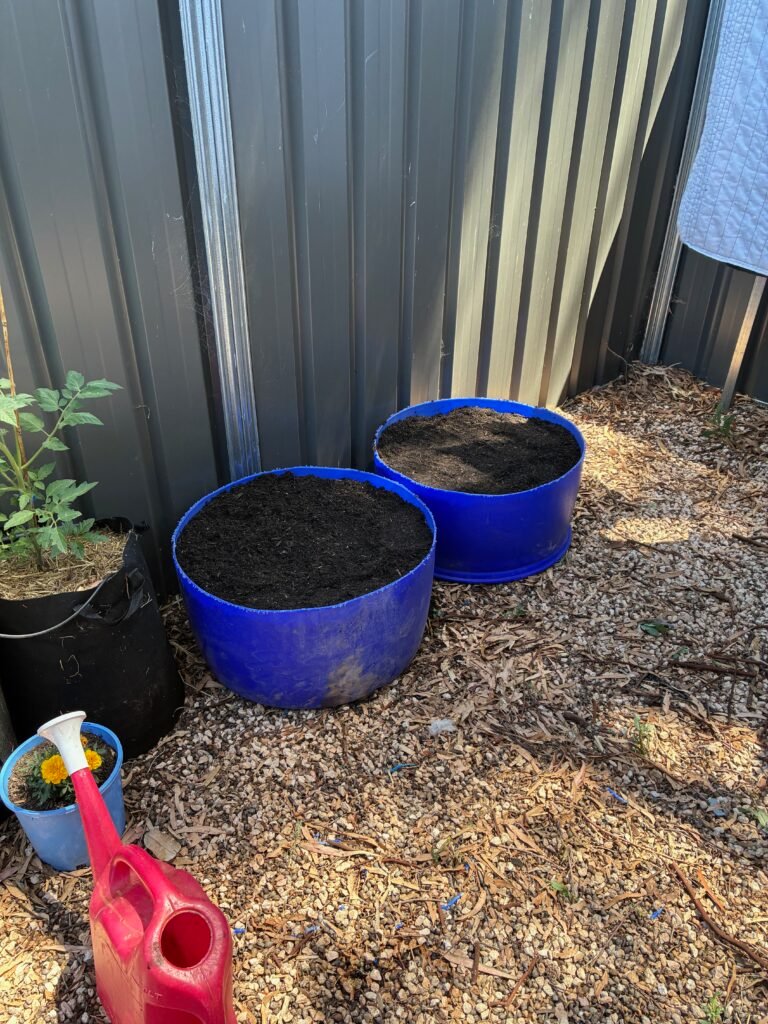
Filling the pots
For the soil, I used bagged mix because I don’t have the room to store bulk soil.
I aimed for roughly 25% compost in the mix. I used potting mix, added chicken manure, then topped it off with more potting mix and mixed it all through by hand so it wasn’t sitting in one concentrated layer.
Planting the trees
Once the pots were filled, I loosened the root ball slightly on each feijoa and planted them in.
Then I packed the soil around them and topped up where needed. I left the tags on as well so I’d remember which plant was which later.
Adding the irrigation ring
For orchard trees, I use a ring of irrigation around the plant rather than watering at the trunk.
That gets the water out toward the roots and should help encourage the roots to spread outward as the tree grows. I make the ring from irrigation line, add a T-piece to connect it to the main system, and fit three drippers spaced around it.
Then I test the flow before leaving it.
Mulching the top
The last step is mulching.
That helps hold moisture in the pot and protects the soil from heat. In this climate, anything that keeps the root zone cooler is worth doing.
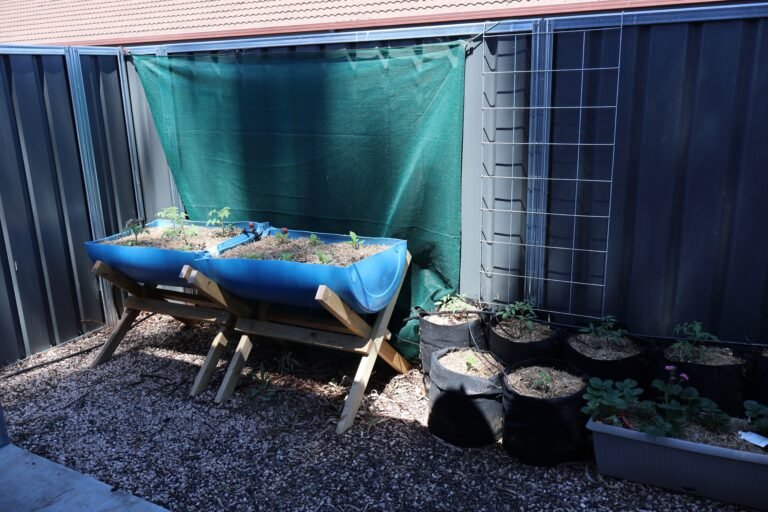
What it means for the orchard
With these done, the orchard has nearly doubled in size.
It’s still early days and the trees are still young, but getting the containers, watering, and setup right now should make things a lot easier later on.